Jul 09 2014

Introduction To Microdata and Google Rich Snippets

Category: SEO,Tips & Tricksksg91 @ 11:29 am

[slideshare id=36777442&doc=microdataplus91technicalpresentationkishangor-140709004543-phpapp01]

HTML5 is taking web documents to a next level, by adding semantics. HTML5 contains several semantics elements but they are not enough to annotate your content. You can tag your content with Microdata to build a better web document which can be understood by machines. 

I created this presentation as an activity in my company to provide introduction to Microdata, one of the most popular format to add semantics to your content. It will also give a brief about Google Rich Snippets.

Feel free to share it and ask any questions. You can connect with me @ksg91.


Tags: , , , , , ,


Jul 19 2012

Transferring Data Securely on HTTP using PHP

Category: PHP,Tips & Tricksksg91 @ 4:23 pm

Image courtesy of MIT OCW.

Well, I have been working on a WordPress plugin and I required to transfer some data from client’s host to my host. Data is Access Token and Secrets for their Twitter account (Of course, not to store it on my host but to perform their operations on Twitter). Being sensitive data, it was required to transfer them securely over the network, keeping it secure from at MITM attacks. As a option, I can use buy a IP and SSL certificate and transfer it using HTTPS. But, being a free plugin, I really didn’t want to spend money in such things. And only option I was left with was to use HTTP and transferring data encrypted.

For this, client will register to me and avail its access token and secret (not of twitter, but for my site). There were multiple data and instead of encrypting them independently, I decided to make a class named Request which holds all the data to be transferred.  Now this request class is serialized and then that string can be encrypted.

I use following code snippet to encrypt :

[php]
$req=serialize($this->request);
$req=$this->key.$req;
$this->enc_req = base64_encode(mcrypt_encrypt(MCRYPT_RIJNDAEL_256, md5($this->acc_sec), $req, MCRYPT_MODE_CBC, md5(md5($this->acc_sec))));
[/php]

Here,

[php]$this->key[/php]

is Access key given to user and

[php]$this->acc_sec[/php]

is Access Secret given to the user.
Let’s check example of this encryption:

Object Request:

object(Request)[1]
  private 'tmp_key' => string  '___' (length=16)
  private 'tw_acc_tok' => string'blah' (length=4)
  private 'tw_acc_sec' => string 'blah 1' (length=6)
  public 'tweet' => string 'Tweet' (length=5)

Serialized Object

string

 'O:7:"Request":4:{s:16:"?Request?tmp_key";s:16:"___";s:19:"?Request?tw_acc_tok";s:4:"blah";s:19:"?Request?tw_acc_sec";s:6:"blah 1";s:5:"tweet";s:5:"Tweet";}' (length=168)

Encrypted Object

string

 'NxFivVICmrRzh/fSlvT3jeWrT8pdvWRKPPc9lpEe1g1MoYgvom2/Sg6kqm0sqQ/PeYIeJXCahQSubW78CbHzBfMcIXsBCmAistVq/XvkZUSe5Hb5OWIr1D3AiGb5943BO9E2reUKr0GJYyIS+Lxrh1mTvSdpbcu9twt7qqhay6dU77icqu8jdvDBs7XrBTTxDFNS57Cl8KYSICInrJ30nwT8CqLHZdsA4poAhZm7TeIV7xp+bUmRAF5WXV6QUlKm' (length=256)

 Now, this encrypted data is sent to me using cURL and Access Key and encrypted text is send along with it.

On my end, I have access token and secret stored in my database, so I will decrypt the request using the access secret that I have stored in my database with the requesting access token. Following code will help me to recover original Request object:

[php]
 
<pre>
$decrypted = rtrim(mcrypt_decrypt(MCRYPT_RIJNDAEL_256, md5($key), base64_decode($encrypted), MCRYPT_MODE_CBC, md5(md5($key))), "\0");
$so=substr($decrypted,strlen($this->key)+1);
$this->request=unserialize($so);

[/php]

I have used Access Key as a salt. Of course, it’s not the only thing I am going to use to achieve higher security. But I believe, this will be enough to give you an idea of how we can achieve a certain level of security. I am not quite sure how secure this method is, but surely enough for my application.

Please feel free to post your views and comments on this. Hoping, this helped. 🙂

Tags: , , , ,


Jun 07 2012

How to use Virtual Box to install Windows 8

Category: Tips & TricksGTX OC @ 10:37 am

How to use Virtual Box to install Windows 8

Microsoft recently released the Windows 8 release preview and I couldn’t resist trying it out . Problem was that I didn’t have an empty partition . So what did I do ? I used Virtual Box(by Oracle) to create a virtual machine and run the release preview inside Windows 7 and today I will show you how to do it .Basically virtual box allows you to create a virtual machine inside an OS to run and install other OSs in a safe environment .

This article is divided into two parts : The Lock(where we prepare a virtual machine) and The Load(where we will actually install windows 8 on the virtual machine) .

Before beginning I would recommend you have 4GB of RAM or more and a graphics card with 256mB frame buffer or more . Make sure you have around 20GB of space free in a partition .Download(and install) Virtual Box from the oracle website and an iso image of Windows 8(32 bit or 64bit).Make sure you note down the product key just below the download links in the Microsoft page.

My system specs:

  • Intel Core i5 -750
  • Intel DH55TC
  • 8GB DDR3-1333Mhz RAM
  • AMD Radeon 5770(1GB)
  • Seagate Barracuda 1TB HDD
  • Corsair VX550W

Right on with the guide .

The Lock:

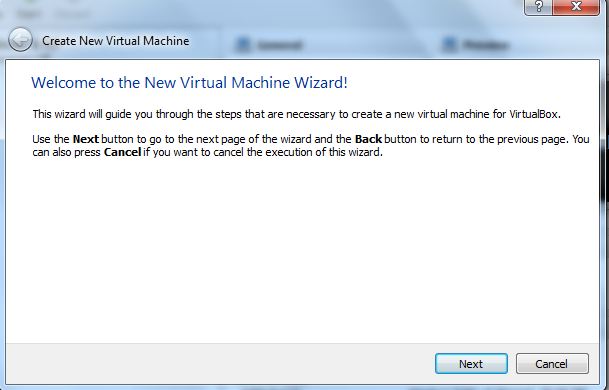
1)  Fire up Virtual Box and click on New .

Step 1

A wizard will pop up and we will follow the instructions .Click on Next.

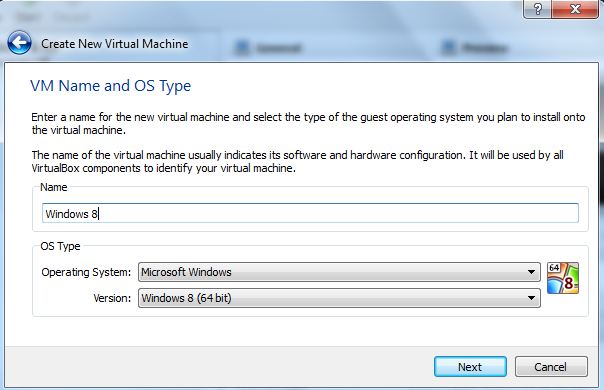
2) Enter a name for your virtual machine and below that select Microsoft as Operating system and if you like me downloaded the 64 bit make sure you select the version as Windows 8(64 bit)

3) Select the amount of RAM that you would want the virtual machine to use(you can change it later if you wish) and click next .I would recommend using 2048mB RAM for a good experience.

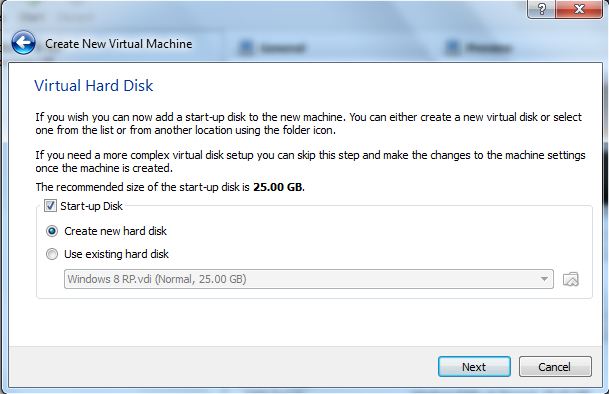
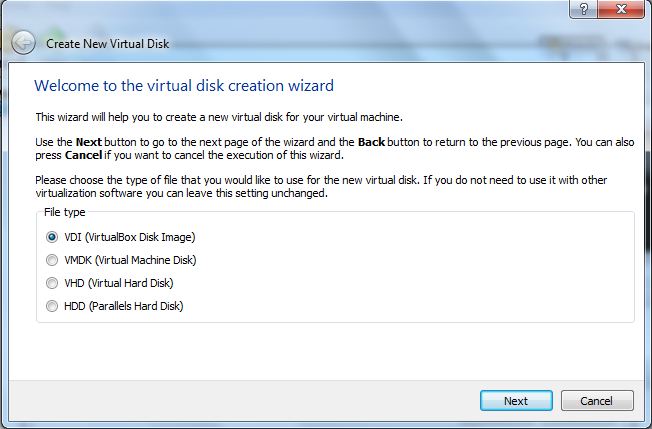
4) Probably the most difficult step in this guide 😛 is to prepare a virtual hard disk . Select create a new hard disk and click on next . The create a new virtual hard disk wizard will pop up. Select the file type as VDI(virtualBox Disk Image) . Click next.

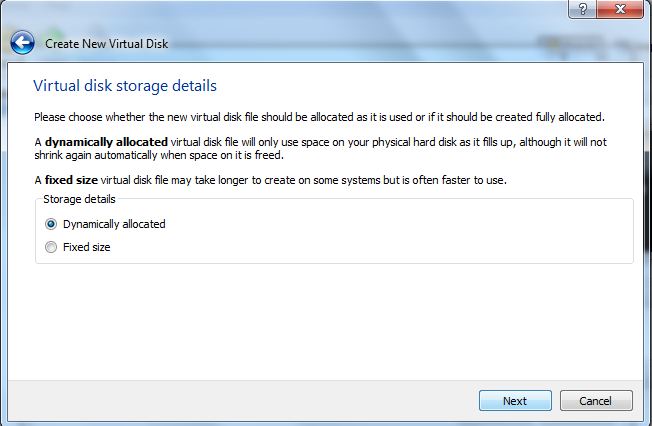
5) Would recommend “fixed size” . 

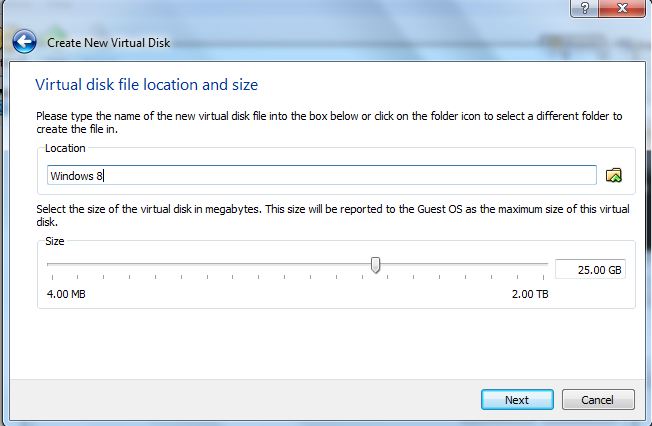
6) In this step you have to give a name for your virtual hard disk as well as decide its size and select the location where you want to create it(to select the location,click on the folder icon next to the text field where you entered the name of you virtual disk).

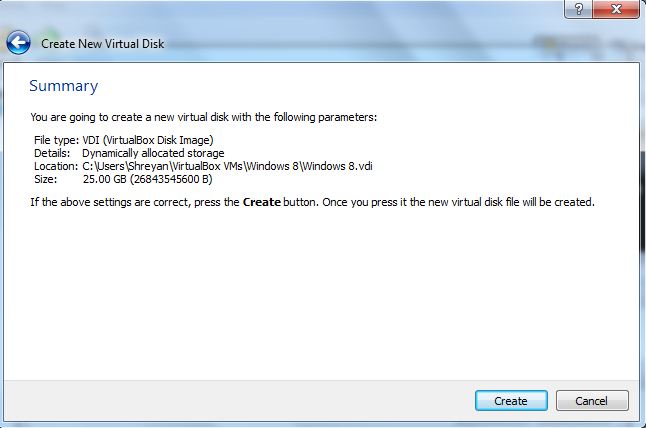
8) Click on create . Virtual box will create your virtual disk, it took around 5 minutes on my system .

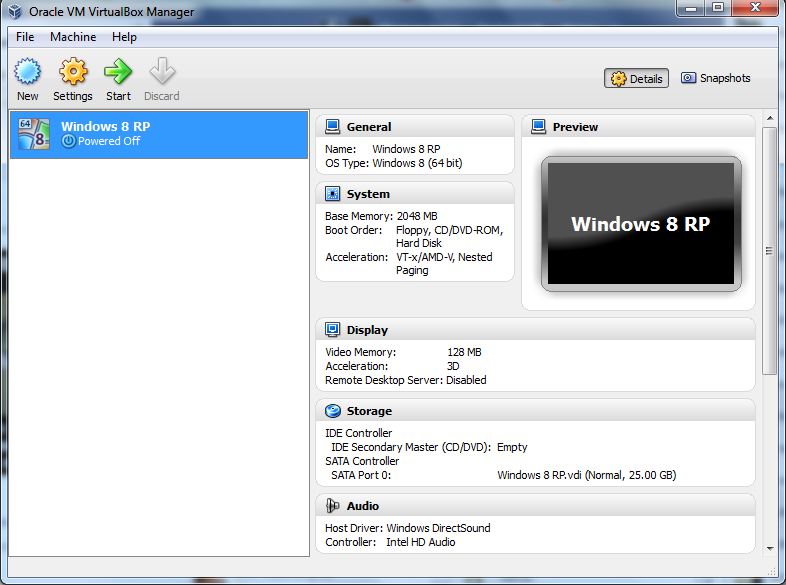
After the disk has been created you will again be taken back to the original screen and you will see your virtual hard disk listed on the left side(see first screenshot) . Now we are ready to install Windows 8 😀 .

The Load

1) Select you virtual hard disk and click on start .

2) A window will pop up telling you that the host key – right control key can be used to capture and focus the cursor and keyboard into your virtual machine.Check the “Do not show this message again” if you well don’t want to see the message again and click OK .

3) A wizard will pop up and will guide us through the installation . Click on Next .

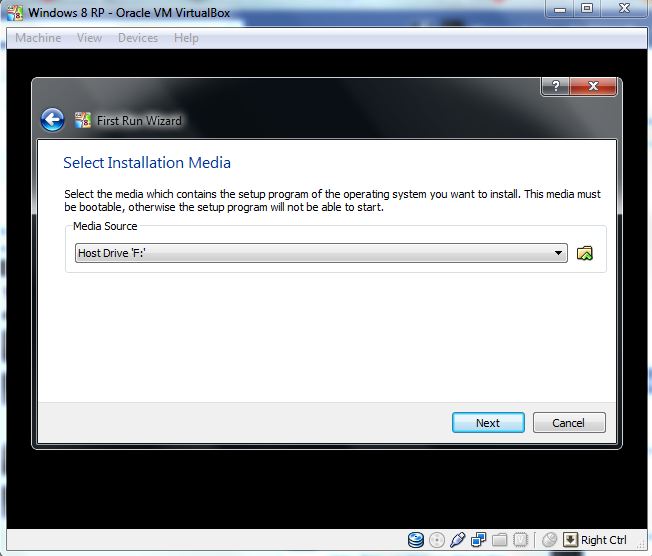
4) In this step you will select your iso . Click on the folder icon and browse to where you have downloaded the iso image . Select the iso and click open . You will see under “media source” the name of the iso will appear . Onward .

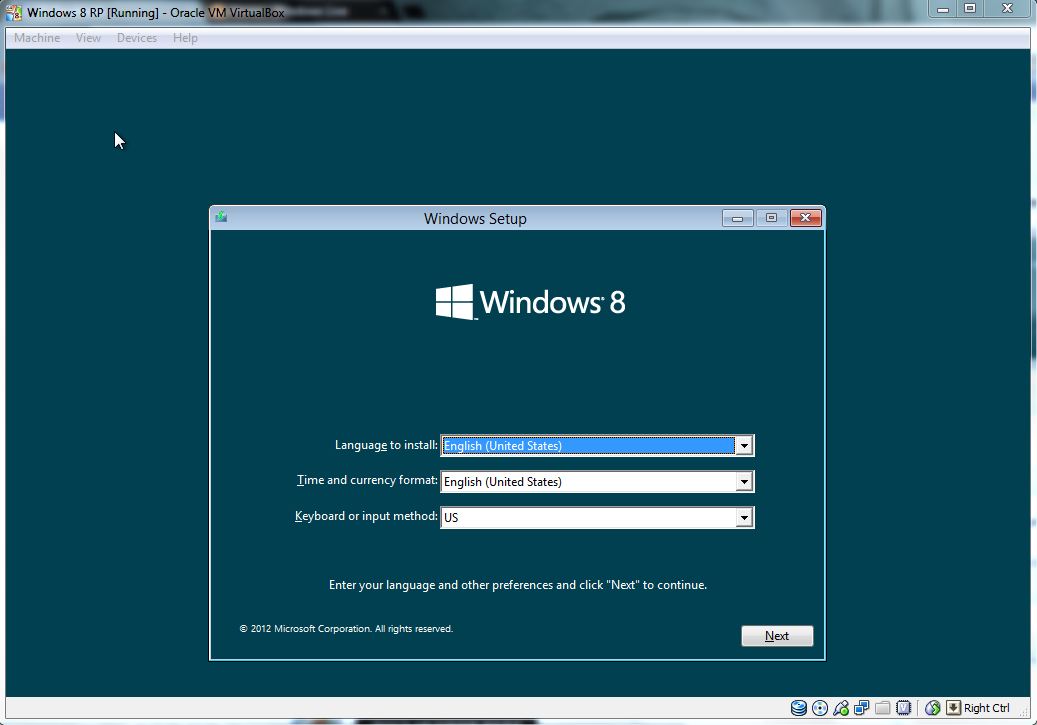
5) We will now start the installation of Windows 8 Release Preview .

Select Language to Install as English(United States) or whatever language you want along with the Time and currency format and keyboard input .

6) Enter the product key that you have noted from the Microsoft web page .If you missed it , here is the product key :

TK8TP-9JN6P-7X7WW-RFFTV-B7QPF.

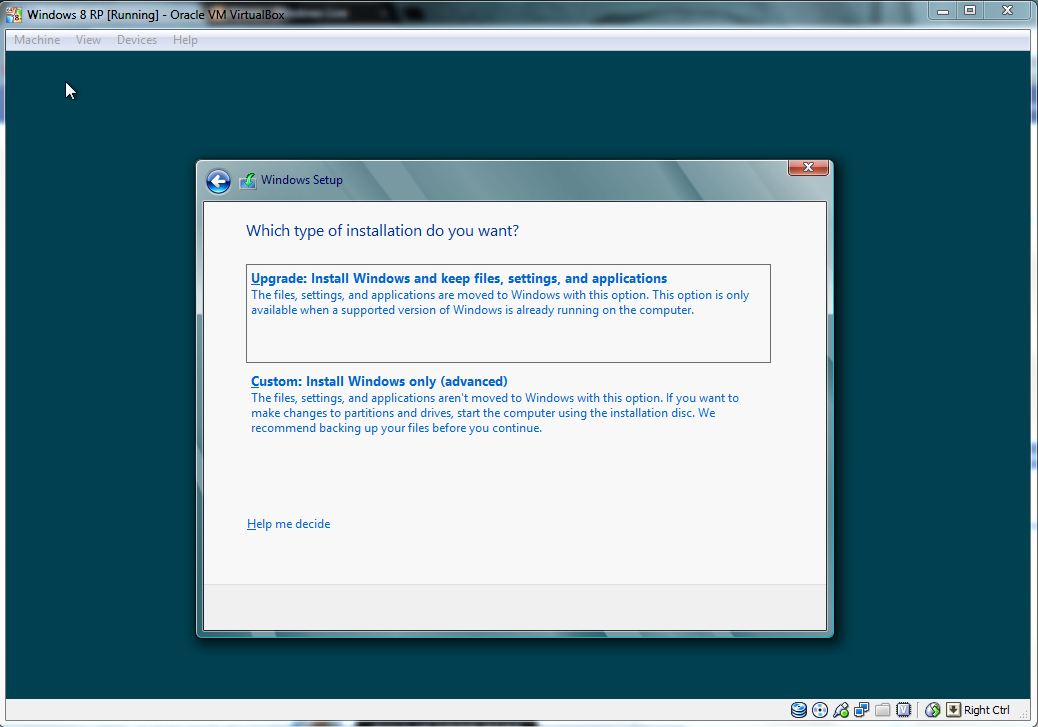
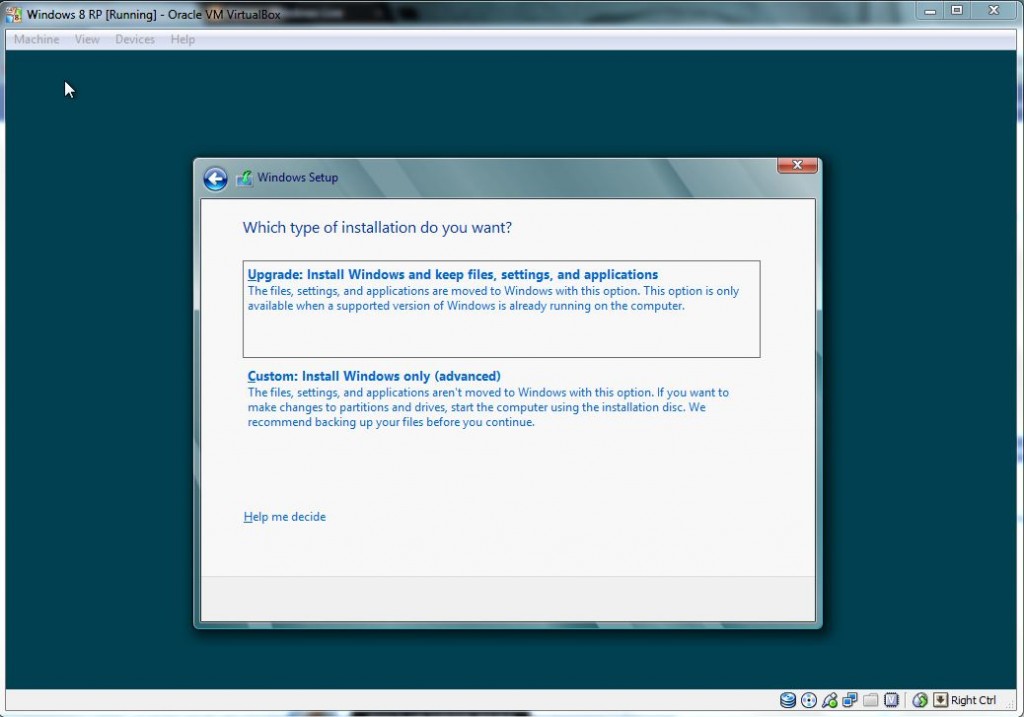
7) Select custom:install windows.

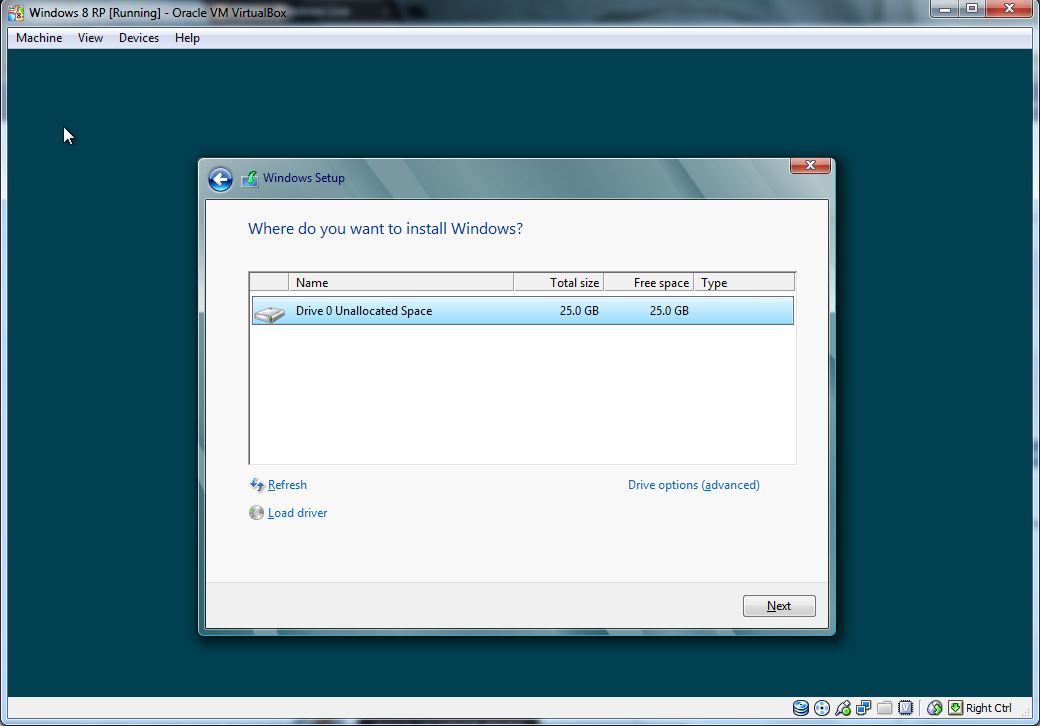
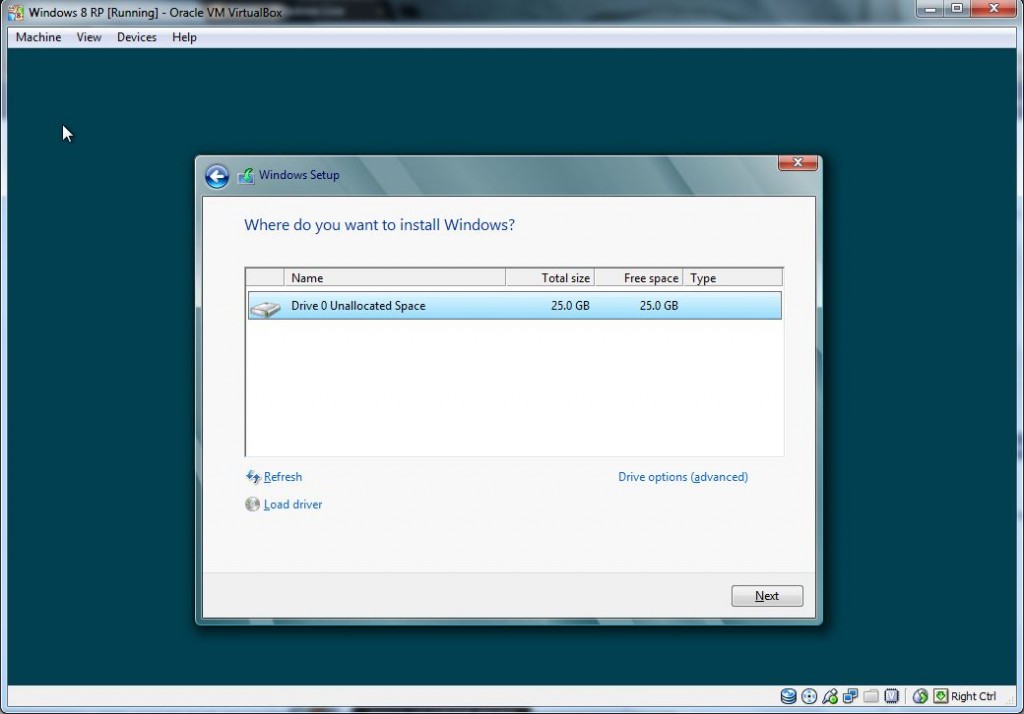
8) You will only see a single disk(which is the virtual hard disk) as you have mounted windows 8 onto your virtual hard disk. We are almost done now . Click next and Windows will begin installing onto your virtual hard disk .Hang in there.

9) When the installation is complete, windows will reboot .

10 )After the reboot you will have to select the colour scheme , some basic settings and log into your windows live account(if you have one) or create one/log into an offline account and enter your phone number . Windows will reboot again and load your settings and get all the devices ready.

And you are good to go with Windows 8 release preview.Hope this helped .

Notes:

  • If you see black bands in Windows 8 along the breadth of your monitor , you will have to install guest additions on your virtual machine . In windows 8 , press the right ctrl key + D and follow the on-screen instructions to install Guest additions .
  • If your machine is very slow , stop the virtual machine . Right click on your virtual machine and select settings .Select System and under system select processor . Now move the processor slider to the number of cores that your processor has.
  • Sorry for the cursor in few of the screenshots .
  • It took me around 12 minutes to install Windows 8 .


Tags: , ,


Oct 09 2011

Creating Bootable Flashdrive of Windows 7 Manually

Category: Tips & Tricksksg91 @ 2:42 pm

When Windows 8 Developer Preview is already out, this post may look very outdated but every week many friends comes to me asking for a DVD of Windows 7. I don’t have DVD with me but I do have source of Windows 7 so I make bootable flashdrive for them. But this makes me tired, every time making them one bootable flashdrive, so I thought to blog about this.

There is already a tool available in Microsoft store for this. It requires you to select ISO file of Windows 7 and you are done. Well, I don’t have ISO file of Windows 7 but all files in a folder and so I use some simple steps to make the flash drive bootable.  Continue reading “Creating Bootable Flashdrive of Windows 7 Manually”

Tags: , , , , , , ,


Sep 23 2011

How To Enable New Facebook Timeline

Category: Tips & Tricksksg91 @ 11:54 pm

After Google coming to Social Networking with its Google+ service, you must have noticed Facebook frequently making changes to its features and layouts. But you must be surprised to see dramatic changes Facebook took to user profiles, i.e Timeline.

According to  Facebook,

Tell your life story with a new kind of profile

Here is a screenshot of new profile:
Facebook Timeline
Well, I am not going deep about what changes does this timeline takes, but how to enable it. You can read more about this timeline at http://www.facebook.com/about/timeline

This timeline is currently available to developers only and for everyone it will be available soon. So those who can’t wait should follow simple step explained below. But for this you must have a verified account, i.e. verified phone number or credit card.

This is for developers only and I do not recommend using it unless you are a developer.


Follow steps below to get it:

  1. You need to login first.
  2. Enable Developer mode by going to https://developers.facebook.com/apps  and allow permissions.
  3. Now what you need to do is to create an app. Fill all necessary details. (Don’t worry, you dont need to publish it)
  4. Go to main setting screen of your app and under Open Graph header, you will find Get Started link. Click it
  5. You are asked to add an action and an object ( on which that action is being performed). Add any verb and subject there.
  6. Keep saving and going next, putting all things to default values.
  7. Once finished saving setting on all three pages, go back to Facebook’s Home page.
  8. You will get an invitation to try new Timeline feature. Accept it.
  9. You are done! 😀
To see your new profile you need to open http://www.facebook.com/USERNAME?sk=timeline if you are not getting timelines after applying above steps.
Your new timeline will be visible to you only until you publish it, though only developers with timeline feature will be able to see it after publishing. If you do not publish, it will be set to be public after a week.

This new profile is nice. I like it. I can see some new things coming to Facebook after this. Lets see what comes.

Just say what do you feel about this new timeline profile? And you can ask me if you are having any trouble using it.

PS: Don’t mind my writing, I am quite sleepy. 😛

Tags: , , , , , ,